


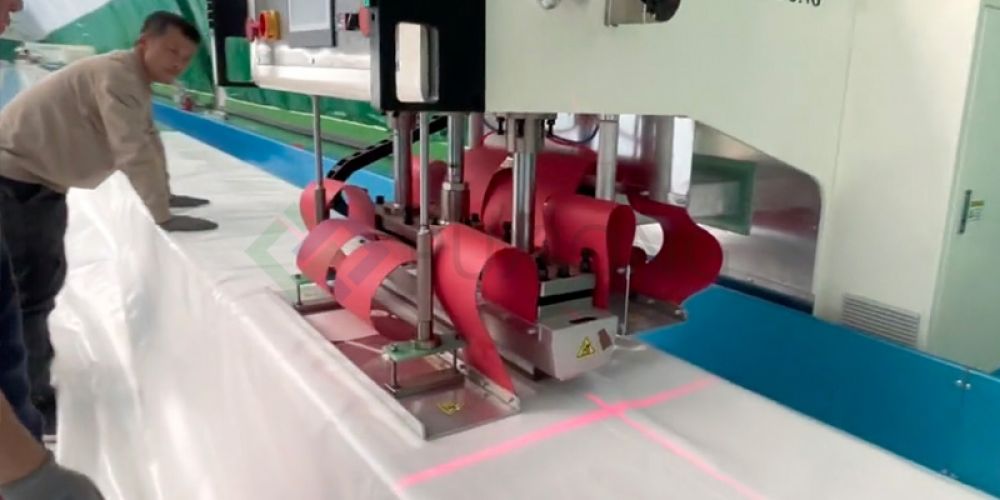
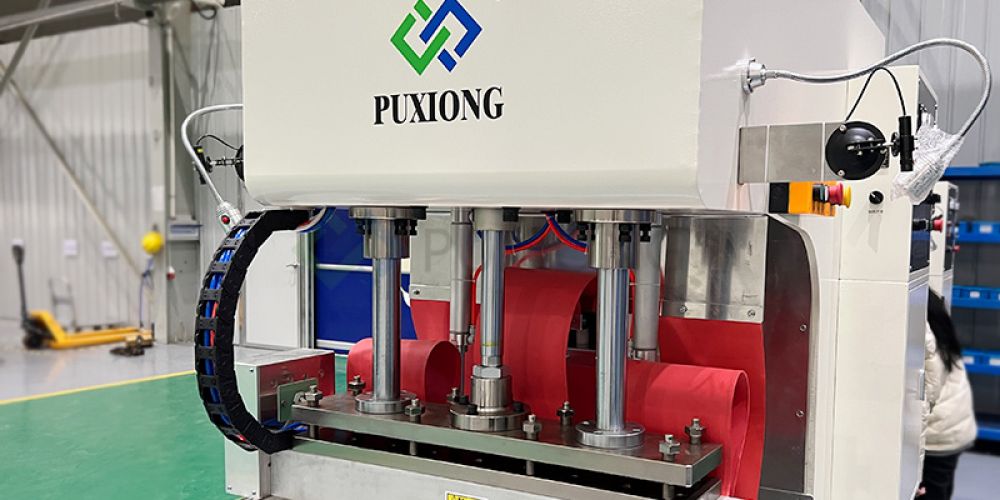
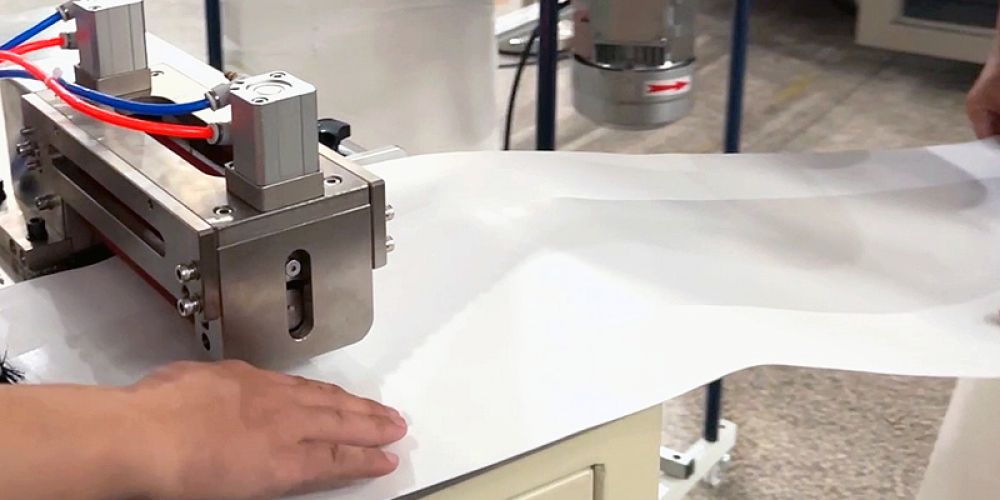
The high-frequency (HF) heat-sealing process for airships utilizes a high-frequency electromagnetic field to induce intense intermolecular collisions within the airship envelope material (such as PVC), generating the high temperatures required for welding and fusing. The process is detailed below regarding its working principle, operational workflow, and key considerations:
.jpg)
**I. Working Principle**
The HF heat-sealing machine employs a high-voltage rectifier vacuum tube and a self-excited oscillator to generate a high-frequency electromagnetic field. Under the influence of this field, the dielectric material of the airship envelope undergoes molecular polarization, causing the molecules to align with the direction of the electric field. Subsequently, the internal molecules are excited into high-speed motion and generate heat through mutual friction; under pressure from the mold, the material achieves the desired welding and cutting effects.
**II. Operational Workflow**
1. **Equipment Preheating and Mold Installation:** Connect the power supply and switch on the control box and heating system to preheat the vacuum tube and mold. Lay insulating material on the lower mold, install the upper mold, and ensure precise horizontal alignment between the upper and lower molds.
2. **Parameter Setting and Calibration:** Configure the head descent time, welding time, and setting (dwell) time via the touchscreen; these parameters should be adjusted flexibly based on the desired product outcome. During initial mold calibration, set the current to the minimum level, then gradually increase it while observing the weld quality and adjusting the welding and setting times accordingly.
3. **Operational Testing and Adjustment:** Activate the HF switch to perform a test run; if the result is unsatisfactory, fine-tune the parameters by adjusting the tuner knob. Continuously monitor the weld quality during the calibration process until the ideal result is achieved.
4. **Routine Production and Mold Changing:** For routine production, operations can begin after a 5–10 minute preheating period; the calibration steps must be repeated whenever the mold is changed. Record the specific parameters for each mold to facilitate rapid setup for future production runs.
In the field of modern architecture, the construction of large-scale venues requires not only meeting functional…
The advantages of high-frequency welding for tensile membrane structures primarily include the following aspects: 1. **Simple…
.jpg)
Welded tensile membrane structures are widely used in landscape architecture and offer significant advantages. The following…

Gas storage bags play a vital role in industrial production by storing gases, regulating pressure, enhancing…
The welding process for PVDF-coated membrane fabrics offers significant competitive advantages over other welding methods, particularly…

I. Application Scenarios for Tensile Membrane Structures Due to their unique mechanical properties and aesthetic versatility…