

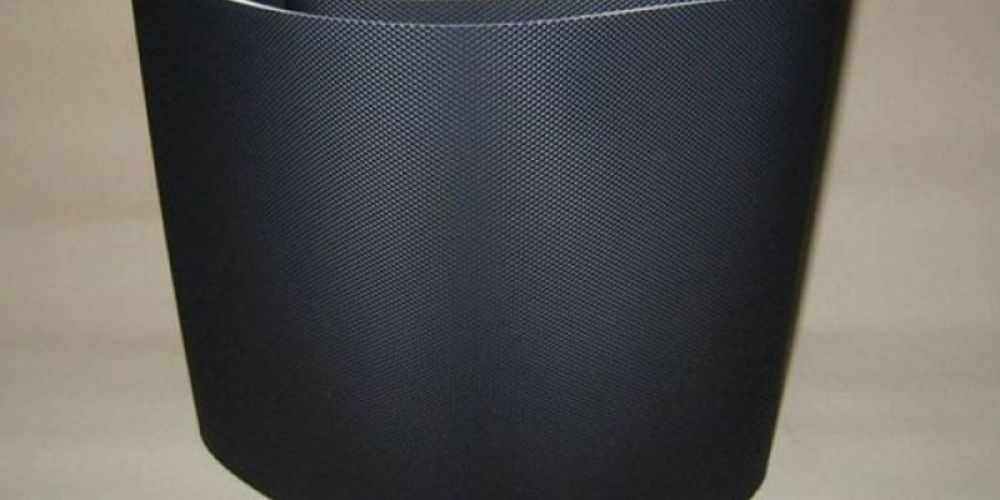
The pre-treatment steps for treadmill belts mainly include the following:
1. Cleaning: First, use a clean cloth or detergent to wipe away dirt, grease, and sweat from the surface of the treadmill belt to avoid adverse effects on the heat sealing process.
2. Drying: After cleaning, place the treadmill belt in a ventilated area to air dry naturally. Avoid using hot air to dry it or other methods to quickly dry it, as this may cause the belt to deform or crack.
3. Deburring: Check the surface of the treadmill belt for burrs, protrusions, or damage. If necessary, remove them using sandpaper or a file to ensure the quality and effectiveness of the heat sealing process.
4. Adjustment: If the treadmill belt is twisted, deformed, or asymmetrical, it needs to be adjusted and straightened to ensure it is flat and straight for the heat sealing process.
These are the main steps in the pre-treatment of treadmill belts. These steps effectively remove dirt, grease, sweat, and other impurities from the belt surface, preparing it for the subsequent heat sealing process. The high-frequency heat sealing process for toothed joints on treadmill belts is a specialized technique for heat sealing treadmill belt seams. Here is a detailed explanation of the process:
1. Pre-treatment: Before heat sealing the toothed joint, the treadmill belt needs to be pre-treated, including cleaning, drying, and preparation, to ensure the quality and stability of the joint.
2. Fixing: The treadmill belt is fixed on the heat sealing machine's workbench, ensuring the toothed portions are aligned for heat sealing.
3. Heating: Using high-frequency electric heating, the toothed portions of the treadmill belt are heated to a molten state. Temperature and time must be carefully controlled during heating to avoid overheating, which could damage the belt or result in poor heat sealing.
4. Pressure: While heating, pressure is applied to press the toothed portions of the treadmill belt together, fusing them together. The pressure needs to be adjusted according to specific circumstances to ensure the effectiveness and quality of the heat sealing.
5. Cooling: After heat sealing, the treadmill belt needs to be cooled to room temperature to stabilize the heat-sealed joint and improve its strength.
6. Inspection: After cooling, the heat-sealed joint needs to be inspected to ensure its quality and stability. If any problems are found, repair or re-heat sealing is required.
7. Post-processing: Finally, the treadmill belt needs post-processing, including trimming, polishing, and cleaning, to ensure its appearance and performance.
High-frequency welding technology is a key process in tent manufacturing. It achieves precise welding of plastic…
.png)
High-frequency welding and hot air welding for tents differ significantly in principle, applicability, efficiency, and finished…
I. Fuel Tanks Revolutionize Energy Transportation 1. Flexible Transportation, Overcoming Spatial Limitations Traditional energy transportation methods…
I. Principle of High-Frequency Welding of Oil Bladders High-frequency welding utilizes the skin effect and proximity…
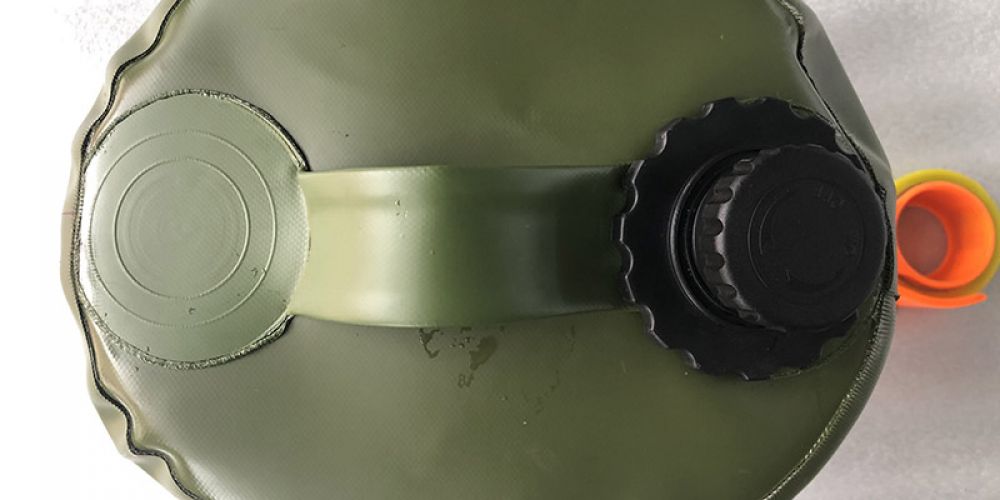
Fuel bladders provide a solid defense for energy transportation safety, primarily due to their material properties…
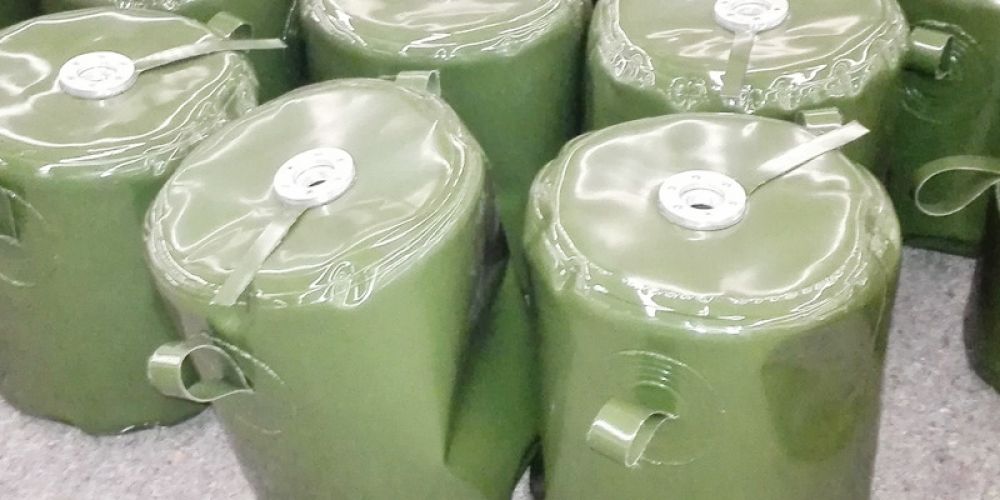
Oil bladders, acting as the "invisible guardians" behind energy transportation, exhibit unique advantages in materials, design…